Posts

Showing posts with the label terrain

Hobby update Warriors of Athena

Image
I am organising Warriors of Athena for the Call to Arms convention and I have been working on some Greek myth terrain. Yes Christopher Nolan is making a movie in support of my convention event. Hopefully our heroes will be less radical casting choices. Richard and Alan had been showing me some terrain from Gale Force 9 and the NZ shop has great prices much better than the US. This is contrary to historical practice but very welcome. Here is an overview of the terrain I got, two large rocky hills and some spires. This is what they are like straight out of the box. Here is a close up of the rocky spires, Richard has a set of these that we are using for Deth Wizard, they are very useful. This is what it looks like after a repaint and with the addition of some Geek Scenic Mediterranean basing materials. The other ruins come from aquarium plants and the small temple is from Sarissa Precision. A close up of the ruined temple, yes that is the original GW vermin fur in its hexagonal pot used a...

Hobby Update - Holy icon.

Image
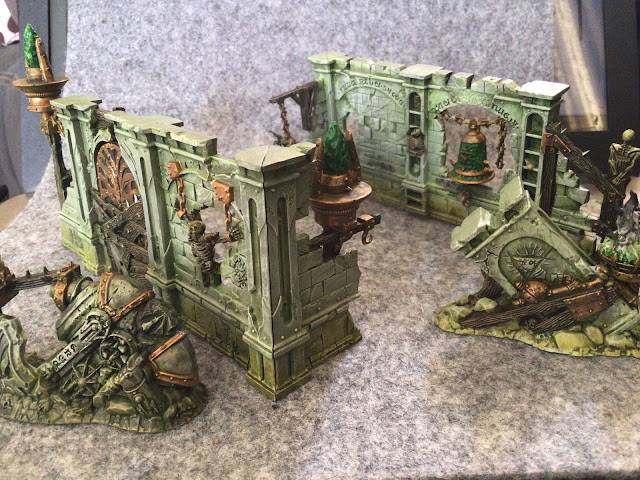
 Here is my statue from the Blood and Faith box. I started with a zenetial primer coat then went straight to the oil wash. This is a great way to get shadows and stains into the recesses. After wiping off the oil wash. I gave the statue a drybrush of ivory to boost the highlights. This did a great job of bringing out the details and maximising the contrast. This gave the statue a Weeping Angels vibe. After watching Duncan Rohdes painting tutorial, I decided to paint the plinth, candles and details to give it more colour and contrast. St Anna is now ready to appear in about zero Killt Team games.

Hobby Update - Age of Sigmar - Spearhead terrain

Image
I have been having fun painting my terrain for AOS spearhead. I got to use a range of my favourite techniques and some experiments. The terrain got painted with a selection of grey tones, dry brushed onto the undercoat. The wood is a coat of Gagrax sewer with some brown sand highlights. The metal is Vallejo Bronze. Then everything got a dark green-brown oil wash. This got wiped off most of the stonework, creating some more contrast in the shadows. This also tinted things a bit green I recently got a bottle of plage bearer flesh from Scott at Kapiti Hobbies. I ran a wash of this around the bottom of the pieces to strengthen the idea of moss or damp or slime corrupting the stone. For the warpstone elements I painted them flourescent yellow and then gave them a good coat of Karandras green contrast. This allows the yellow to show through at the thinnest points. Overall I'm quite pleased with how these items are turning out.  

Hobby Update - Trench Warfare

Image
 I have been making some trench terrain. These could be used for all sorts of games, especially weird WW1 games like A War Transformed or The Last War. They could also see service in Stargrave or 40k. I got inspired be the terrain Ash Barker was using in his last war games. Rather than making trench boards he had a series or square hills made to look like the edges of trenches. This makes the amount of terrain you need to build much less. Here are some of the first generation pieces, laid out to show the look of the trenches. Some BEF models for scale. These are scraps of polystyrene cut into squares and triangles and then covered in popsicle sticks and match sticks. You need a lot of sticks A quick model's eye view down a trench I made Private Frazier a dug out with a roof of more sticks and matches. I got inspired by Mel The Terrain Tutors Trench set. He moddeled craters into his pieces. I also built some pieces that slope down to no one's land. If you extend the bottom of th...

Hobby Update - Borg Terrain

Image
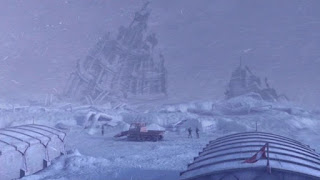
To go with my away team models, I have been inspired to make some Borg themed wreckage terrain. Inspired by this scene from Star Trek Enterprise. I am building a ship wall. This is a mix of foam core cardboard and paper straws. This is the other side. The piece is now on a base and some floors have been added. Once I have finished building the terrain, I will cut it up into wreckage with either my dremel or my jigsaw. This will give me several pieces of terrain. The build process is nice and relaxing and very organic. I can build whatever shapes I want.  

Hobby Update - The colony expansion

Image
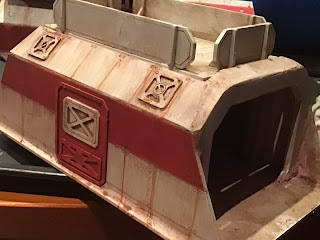
 I have been doing more work on my Sci fi colony buildings from Sarissa Precision. Here are a couple of tracked vehicles from Sarissa, these have been weathered with a couple of different shades to match the rest of the buildings. These vehicles are sitting on my Mars Code Aurora book. That has been a lot of fun to read. Here are some close ups of the buildings.  This is the main HQ complex. Its the largest pod and its got two stories. Here is a view of the HQ pod. The buildings have roof hatches so your models can get up and run about on the roof. Here is other pod grouping. You can group the pods in all sorts of different configurations. Here is an overview of the whole collection of Pods. They are positioned on the new mat I got from CigarBox battlemats.  I need to paint the bases of the pods to match the mat I want it to go on.  I also have some stairs and catwalks to weather and a silo to finish. Then the whole collection can be based and its ready to go.

Hobby Update - Scifi Colony buildings

Image
 After playing Mars: Code Aurora a couple of weeks ago, I have been getting inspired to do some more work on my Colony buildings. I got these from Sarissa Precision and with paint and weathering they look great. Here are some photos of the new buildings.  This is my vehicle garage. Perfect for storing and escape buggy or prospecting tractor. This is a two story module. The ground floor has openings that allow it to connect to junction corridors. I added the usual pipework to the pods and built up some interior partitions. I also built up two corridor pods. One is a double ended junction and one is an end pod with an external door. The weathering is a mix of Ammo Mig streak and grime and some brown acrylics.

Hobby update - building the space fleet.

Image
I bought some space craft toys from the Lightyear movie. I then repainted them with a scheme inspired by the original Battlestar Galactica series. The craft are painted in AK interactive Silver Grey. They are then washed with a dark wash I got from Kapiti Hobbies. Once the excess is wiped off it does a good job of a panel line wash. I masked off the canopies and then cleaned off any leakage with a toothpick. I masked off the red lines with masking tape and then stippled on the red using a couple of different shades. The upper surface stripes once the masking is removed. You can see the canopies masked. With the masking on. Doing it this way was quicker than painting specific panels and allowed me to do stripes that don't always follow the panel lines. I also got this Zurg ship. The canopy is masked off and is a vibrant green underneath. This is a spray gunmetal with a dark washed into the panel lines and the excess wiped off. I have then been highlighting it with Vallejo Air Pale b...

Hobby update - tropical paradise

Image
 I have finished my tropical village kit from Sarissa Precision. The village consists of three houses, a meeting house and an animal pen. The buildings come with a nice level of detail without being too complex. I bought some Japanese buildings a while back and they don't have the raised details on the walls to represent the vertical posts. I did add matchsticks to the roof ridges to fill in the gaps between the wooden panels. I painted the buildings with a series of different colours ranging from dark brown to beige. The buildings are now in a variety of shades. I also textured the bases of each building and then glued and painted woodland scenic clump foliage around the edge of the buildings. The buildings are photographed on my Rangers of Shadow Deep mat. This is a nice rural 3 by 3 mat.

Hobby update - Terrain kits

Image
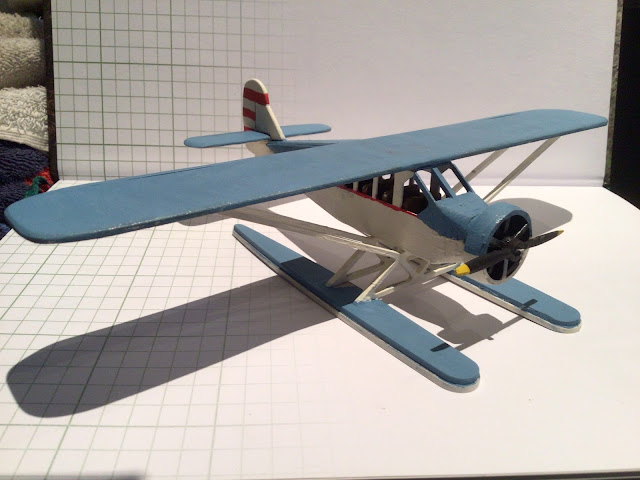
I have been building some MDF kits from Sarissa Precision. I like their kits, they are the right balance between detail and complexity. Here are a couple of sets I got for our Pulp games. I filed the wings into an airfoil , shape and the propellor blades to something like the correct shape. It also got some light weathering. This is the seaplane, perfect for a quick getaway with the treasure.  This is the pacific village. This consists of a council hut, three houses and an animal pen. I had a lot of fun watching how Mel the Terrain Tutor did his. Lots of brown, grey and black washes were used on this village The roofs come off so you could have fights inside. The Council house is quite fragile, because its just some MDF posts that hold up the roof.